Non-toxic egg coloring is becoming a popular way to decorate Easter eggs without relying on artificial dyes. While coloring eggs remains one of Easter’s most beloved traditions, many families are looking for safer, more natural alternatives for their holiday celebrations.
Instead of synthetic food colorings, natural ingredients like turmeric, red cabbage, and beets can create beautiful Easter eggs in a range of vibrant shades. These everyday kitchen staples have botanical pigments that are completely safe to handle and edible at the same time.
The Science Behind a Natural Stain
At its heart, natural dyeing is about extraction. The vibrant colors in fruits, vegetables, and spices come from natural chemical compounds like anthocyanins (in berries and cabbage), carotenoids (in turmeric), and betalains (in beets).

To release these pigments, you create a simple dye bath by simmering the plant material in water. The color then transfers from the water to the eggshell.
The eggshell itself is porous and made of calcium carbonate. Adding a small amount of vinegar to your dye bath acts as a mordant; it gently etches the shell’s surface, helping the natural pigment bind more effectively.
A Rainbow from Your Pantry
You’ll be surprised by the variety of colors you can achieve with this non-toxic egg coloring approach. The key is to use white-shelled eggs for the brightest, truest results.
| Natural Ingredient | Color Produced | Notes |
|---|---|---|
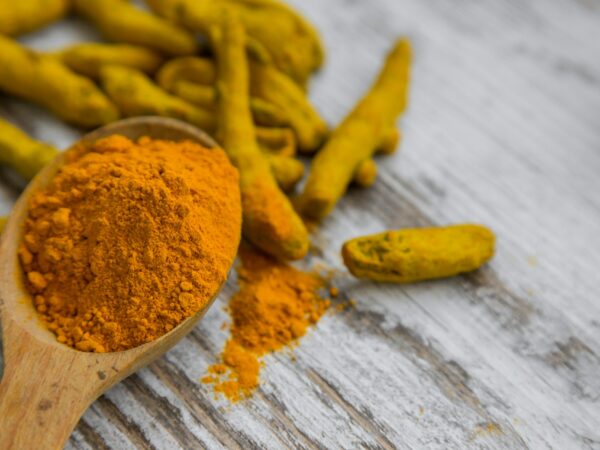
| Turmeric | Bright Yellow to Gold | One of the most vibrant natural dyes. |
| Saffron | Soft Golden Yellow | Produces a warmer, more delicate yellow. |
| Yellow Onion Skins | Orange to Copper | Creates rich, earthy orange tones. |
| Paprika | Burnt Orange | Gives eggs a warm orange-red hue. |
| Red Onion Skins | Pink, Red, or Burgundy | Can produce mottled red tones with hints of turquoise. |
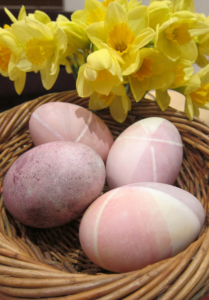
| Beets | Light Pink to Rose | Produces soft pastel shades on white eggs. |
| Cranberries | Pink to Red | Creates speckled eggs with natural color variation. |
| Red Cabbage | Sky Blue to Blue | One of the most popular natural blue dyes. |
| Blueberries | Indigo Blue to Purple | Can create deeper blue-violet shades. |
| Hibiscus Flowers | Lavender to Deep Purple | Produces rich jewel-toned colors. |
| Blackberries | Purple | Creates muted violet shades. |
| Spinach | Soft Green | Produces a subtle, earthy green. |
| Parsley | Pale Green | Best for light green pastel tones. |
| Spirulina | Green | Creates a stronger green than leafy vegetables. |
| Turmeric + Red Cabbage | Green | Layering yellow and blue dyes creates green eggs. |
| Beetroot + Red Cabbage | Lavender | Produces a soft purple-lavender shade. |
| Matcha Powder | Green | Creates a gentle sage-green color. |
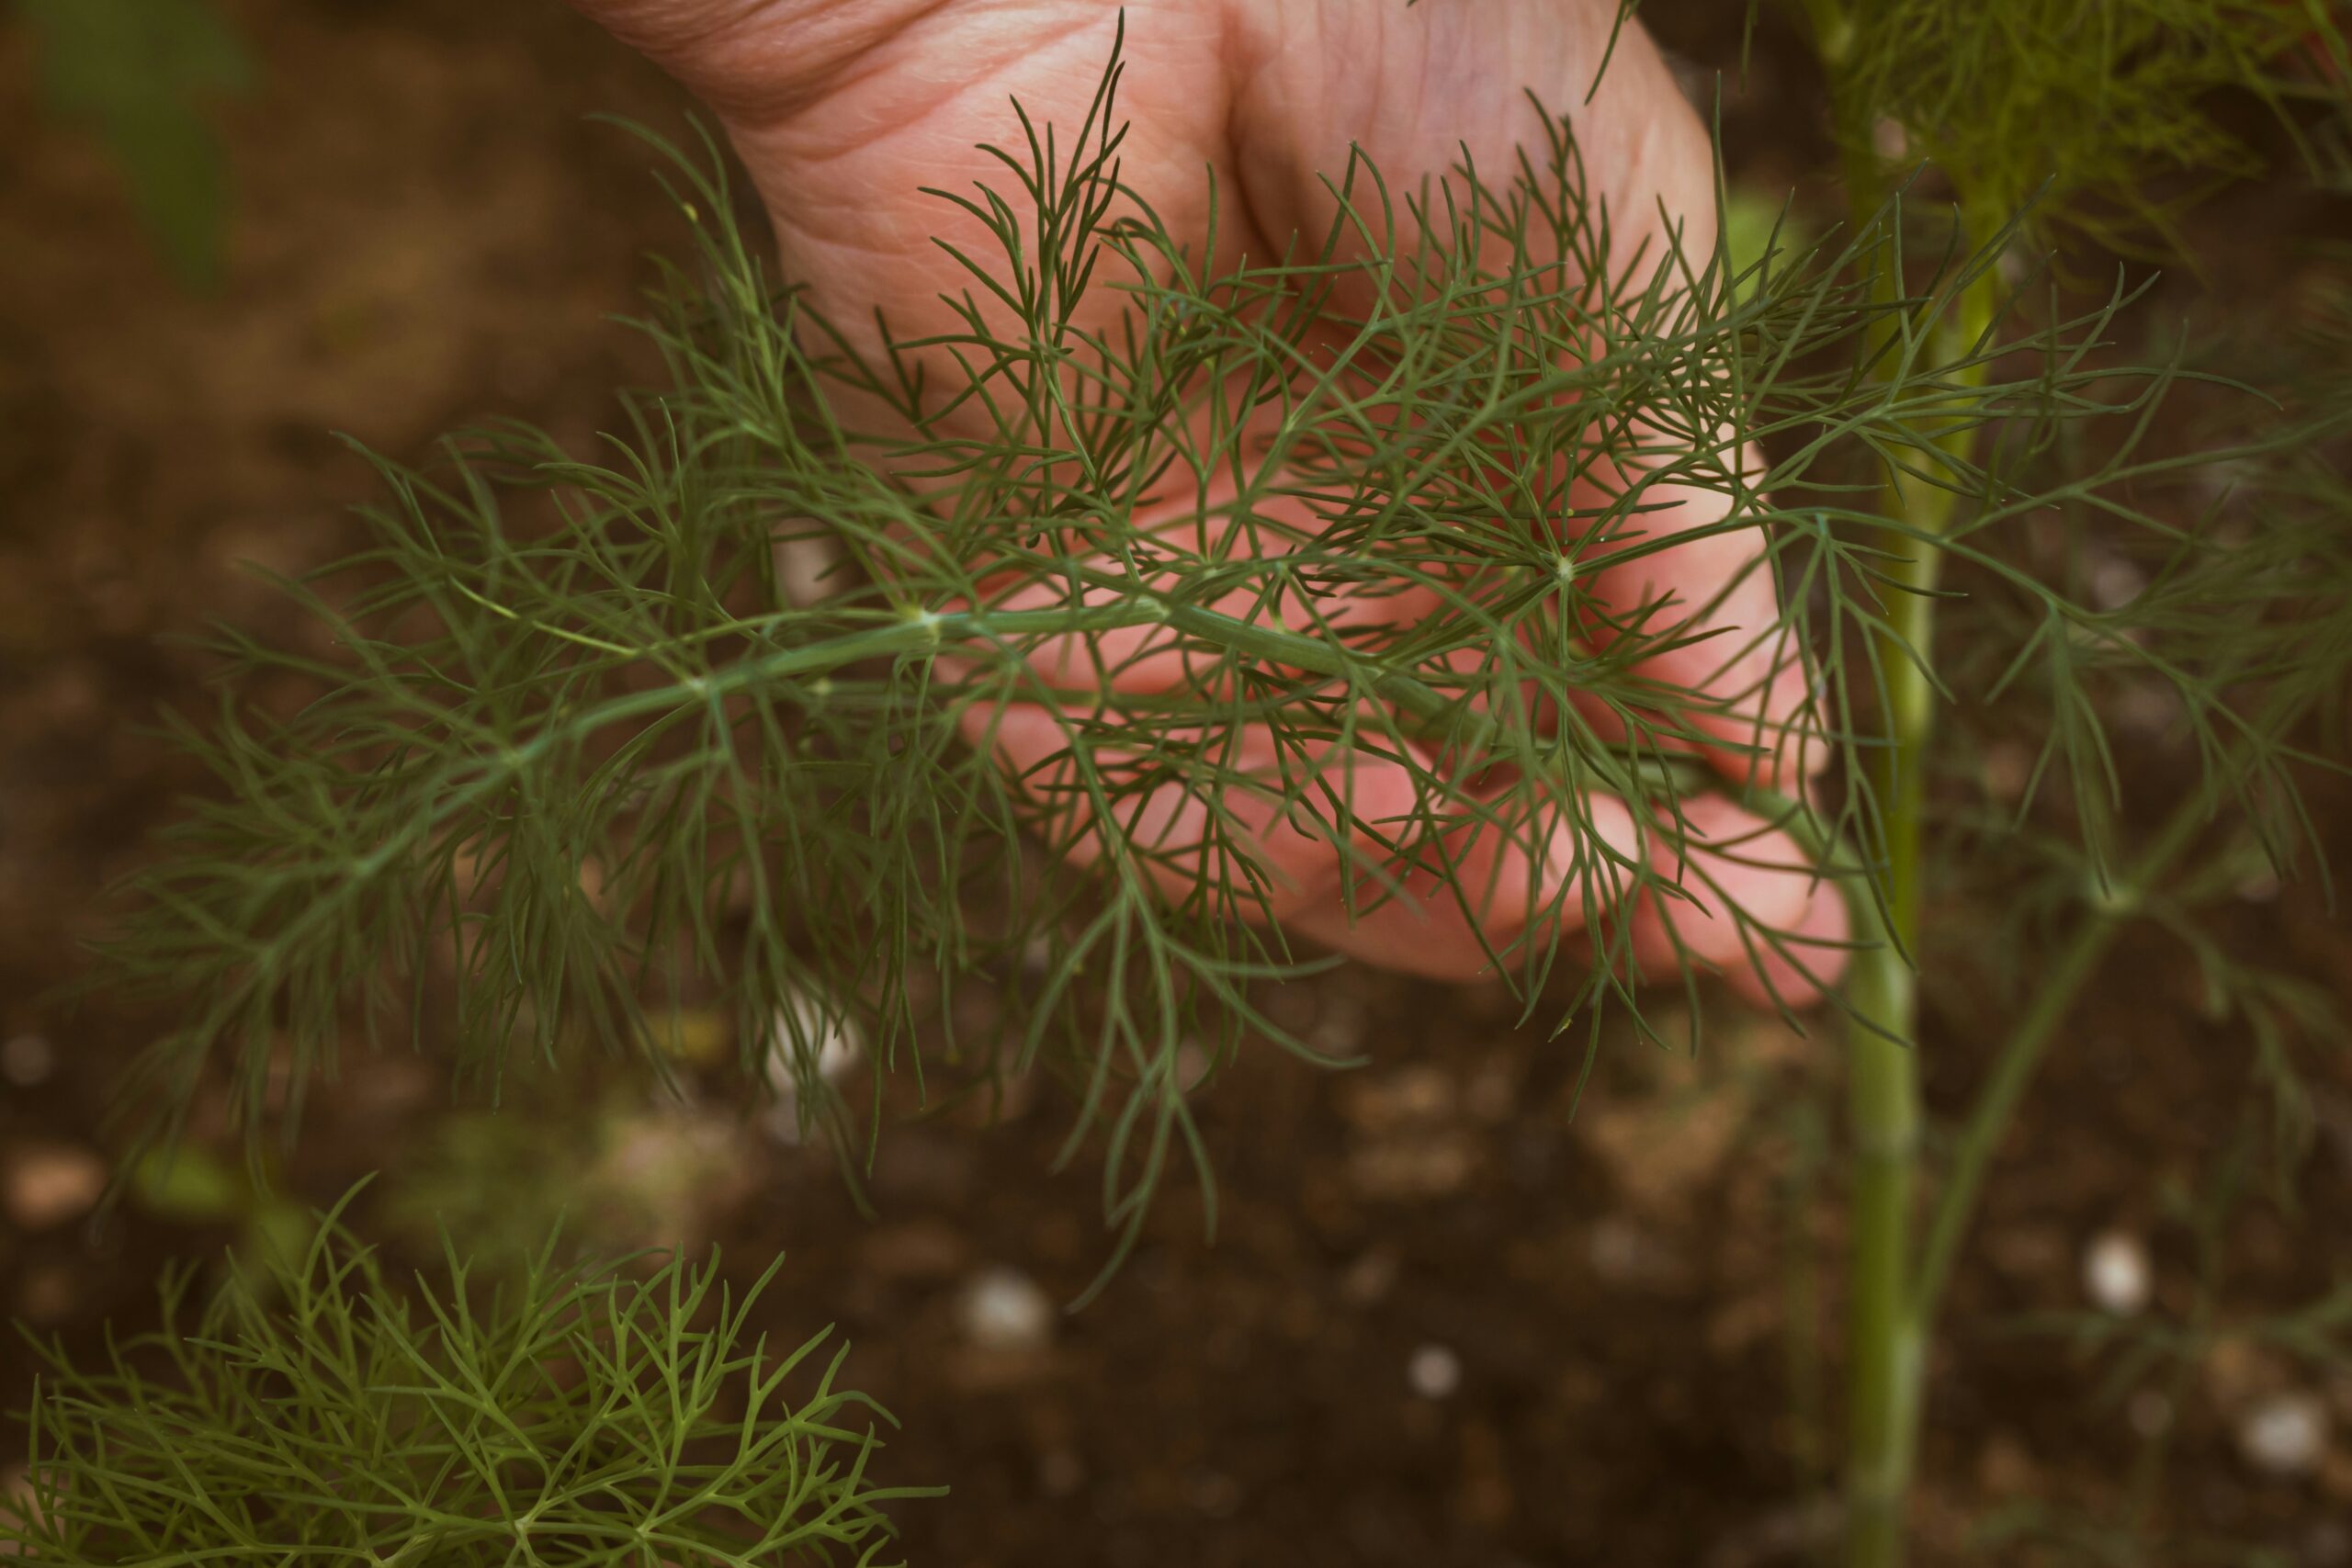
| Dill | Lemon-Lime Green | Produces a vibrant and striking green with yellow undertones. |
| Dill + Red Onion Skins | Jungle Green | Produces deep green tones with subtle color variation from the contrasting ingredients. |
| Coffee | Mocha Brown | Great for rustic, farmhouse-style eggs. |
| Black Tea | Beige to Tan | Produces soft neutral shades. |
| Carrot Tops + Yellow Onion Skins | Burnt Orange | Creates a rich orange shade with a rustic, scorched-earth appearance. |
| Half Red and Half White Wine Mix | Purple to Maroon | Creates dramatic dark tones with a crystalline finish on the shell. |
| Avocado Skins & Pits | Dusty Pink | A surprising source of blush-pink color. |
Essential Equipment and Materials for Making the Best Easter Egg Dye
Before you begin this non-toxic egg coloring project, gather a few simple supplies:
- Hard-boiled eggs at room temperature
- Wide-mouthed jars or bowls (Mason jars work well, as regular-mouth jars can make extraction difficult)
- A strainer to remove solids
- Tongs for handling the eggs
- White vinegar
- Some cooking oil or lard for polishing (optional but highly recommended)
Step-by-Step Guide to Non-Toxic Egg Coloring
Follow this straightforward process for beautiful dyed Easter eggs.
1. Prepare the Dye Bath: In a non-aluminum pot, combine your chosen coloring ingredient with water. Bring to a boil, then reduce to a simmer for 15 to 30 minutes. The longer you simmer, the deeper the color. Remember, more plant material and less water will yield a more concentrated, vibrant dye.
2. Strain and Add Vinegar: Remove the pot from hethe at. Pour the liquid through a strainer to remove all solids. For every cup of strained dye liquid, stir in 1 tablespoon of white vinegar.
3. Cool the Dye: Allow the dye bath to cool to room temperature or a lukewarm state. Using warm dye helps the color absorb better into the warm eggs.
4. Dye the Eggs: Gently place your hard-boiled eggs into the dye bath. For vibrant colors, you have two effective options:
Overnight Soak. For the deepest, richest hues, place the eggs in the jar, cover with dye, and refrigerate overnight.
Quick Dip. For lighter pastels, leave the eggs in the dye bath for 15 minutes to 2 hours, checking on them periodically.
5. Dry and Polish: Carefully remove the eggs with tongs and place them on a dry surface away from direct sunlight. Let them air-dry completely. For a beautiful glossy finish, rub a tiny amount of tallow or lard onto the dried eggshell with your fingers and buff with a paper towel.
Pro Tips and Creative Variations
- Use Brown Eggs: If you only have brown eggs, don’t fret! They will yield richer, more earthy and muted tones, which can be just as beautiful.
- Create Pattern with Plants: For an heirloom look, try the Ukrainian “lystovka” or leaf-printing technique. Wet a freshly boiled egg, press small leaves (like parsley, dandelion, or clover) or flowers against it, and wrap it tightly in a piece of cheesecloth or nylon stocking. Secure it with a twist tie, then place it in the dye bath. When you unwrap it, the foliage will have left a beautiful white or lighter silhouette.
- Fix a Bleeding Color: If a dye is too pale, you can add a little more pigment to the bath or leave the egg to soak for a longer period. Natural dyes take time.
- Steer Clear of Problematic Dyes: While exciting to experiment, not all natural dyes are suitable. For example, rhubarb leaves are toxic and should never be used.
Storing Your Naturally Dyed Eggs
Food safety is paramount. Since the protective bloom has been washed off the shell during boiling, naturally dyed eggs are more porous.
Therefore, you must refrigerate them and consume them within one week of preparation. For Easter egg hunts, do not consume any eggs that have been left out at room temperature for more than two hours, or one hour if it’s warmer than 90°F.
Embracing non-toxic egg coloring is more than just a craft; it’s a way to reclaim a cherished tradition with a focus on safety, sustainability, and natural beauty. It allows you to eliminate synthetic dyes from your celebrations and create stunning, unique decorations that reflect the vibrant colors of the natural world. So, this year, skip the chemical kits and explore the rich possibilities waiting in your own pantry.