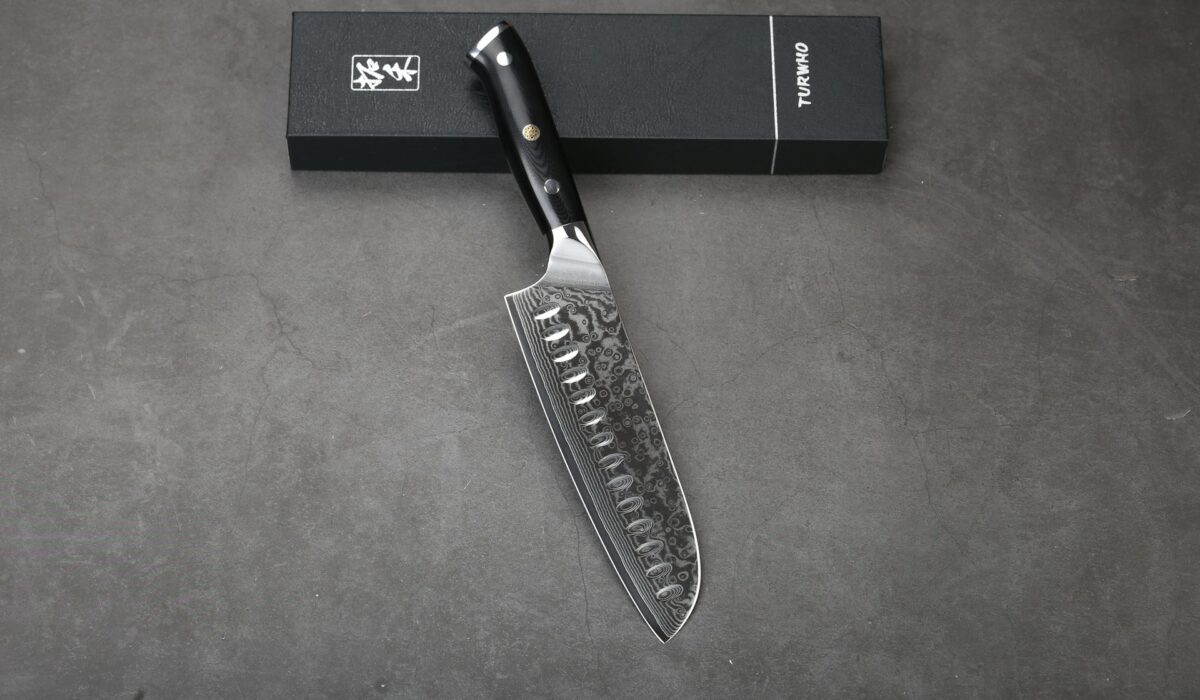
It’s no surprise that sharpening Damascus kitchen knives as a hands-on skill is surrounded by equal parts curiosity and caution. A Damascus chef’s knife has a way of making you pause. The distinctive flowing patterns, the razor-sharp edge, and often the price tag are enough to make many home cooks second-guess the idea of sharpening it themselves.
The irony is that these beautiful knives aren’t especially difficult to sharpen. In fact, once you understand a few fundamentals, the same skills used to maintain a premium Damascus blade will serve almost any quality chef’s knife, whether it’s Japanese, German, or something in between.
The Biggest Myth About Damascus Knives
Ask five random people how to sharpen a Damascus knife and you’re likely to hear five different answers. Some insist it needs special stones.
Others warn that one wrong stroke will ruin the pattern forever. A few even avoid sharpening theirs altogether, choosing instead to pay someone else every time the edge loses its bite.
However, it’s important to understand that the beautiful rippling pattern that gives Damascus steel its unmistakable appearance isn’t what you’re sharpening. Modern Damascus kitchen knives are typically made with a hard cutting core wrapped in layers of softer steel that create the distinctive pattern.
When you sharpen the knife, you’re refining the tiny strip of steel that forms the cutting edge—not grinding away the decorative layers across the blade.
That’s why the fundamentals remain the same. Good technique matters far more than whether the blade has a Damascus finish.
Practise On An Inexpensive Kitchen Knife First
It’s easy to assume that buying a premium whetstone or an elaborate sharpening system will automatically produce a razor edge. In reality, consistency beats cost almost every time.
Someone with a modest water stone and steady hands will usually achieve better results than someone using top-of-the-line gear without understanding angle or pressure.
If you’re completely new to sharpening, many experienced cooks recommend practising on an inexpensive kitchen knife first. It takes the fear out of the learning process and allows you to develop muscle memory before working on your favourite Damascus blade.
Choosing the Right Sharpening Tool
Walk into a kitchen store and you’ll find no shortage of sharpening gadgets promising professional results in minutes. Some work reasonably well, while others remove far more metal than necessary or make it difficult to maintain the knife’s original edge.
1. A Whetstone Remains the Gold Standard.
Unlike pull-through sharpeners, which create a fixed angle whether it suits your knife or not, a whetstone lets you preserve the edge geometry the manufacturer intended. It removes only as much metal as needed and gives you complete control throughout the process.
2. Diamond Stones Cut Through Hard Steel
Another excellent option, particularly if you’re repairing a chipped edge or working with very hard steels. They cut quickly and stay flat for years, although some cooks prefer the smoother feedback that traditional water stones provide.
3. Electric Sharpeners
These occupy something of a middle ground. They’re convenient for busy kitchens, but convenience comes with compromise. Many models remove more steel than necessary, shortening the life of a premium knife over time. That’s one reason professional chefs and knife makers still reach for a whetstone when caring for high-quality blades.
Finding the Right Angle Matters More Than Anything
One question appears in almost every discussion about sharpening Damascus kitchen knives: What’s the perfect sharpening angle?
The honest answer is that there isn’t one.
Most Japanese-style chef’s knives perform best with an edge around 15 degrees per side, while many German knives are closer to 20 degrees. Those numbers are useful as a guide, but they’re not something to obsess over.
What matters far more is holding a consistent angle from the first stroke to the last.
Imagine drawing a long, smooth line rather than trying to force the knife into the stone. If the angle changes with every pass, the edge becomes uneven, no matter how expensive your sharpening equipment might be.
Beginners often benefit from an angle guide for the first few sessions, but don’t feel tied to one forever. With a little practice, maintaining the angle becomes surprisingly natural.
Let the Stone Do the Work When Sharpening Damascus Kitchen Knives
There’s a tendency to think sharpening is about force. Press harder, remove more metal, get a sharper knife.
In reality, that’s one of the quickest ways to create an uneven edge.
A good whetstone cuts because of its abrasive surface, not because you’re leaning your body weight into the blade. Gentle, controlled pressure produces cleaner, more predictable results and gives you far greater control over the edge.
Think of it less as grinding and more as guiding.
Move the knife smoothly across the stone so the entire edge—from heel to tip—makes even contact. Whether you prefer sweeping arcs or straight passes matters less than keeping your movements controlled and repeatable.
Learn to Feel for the Burr
One of the biggest breakthroughs you can make is to stop worrying about numbers.
You don’t need twenty strokes on one side and twenty on the other.
You need to know when the steel is telling you it’s ready.
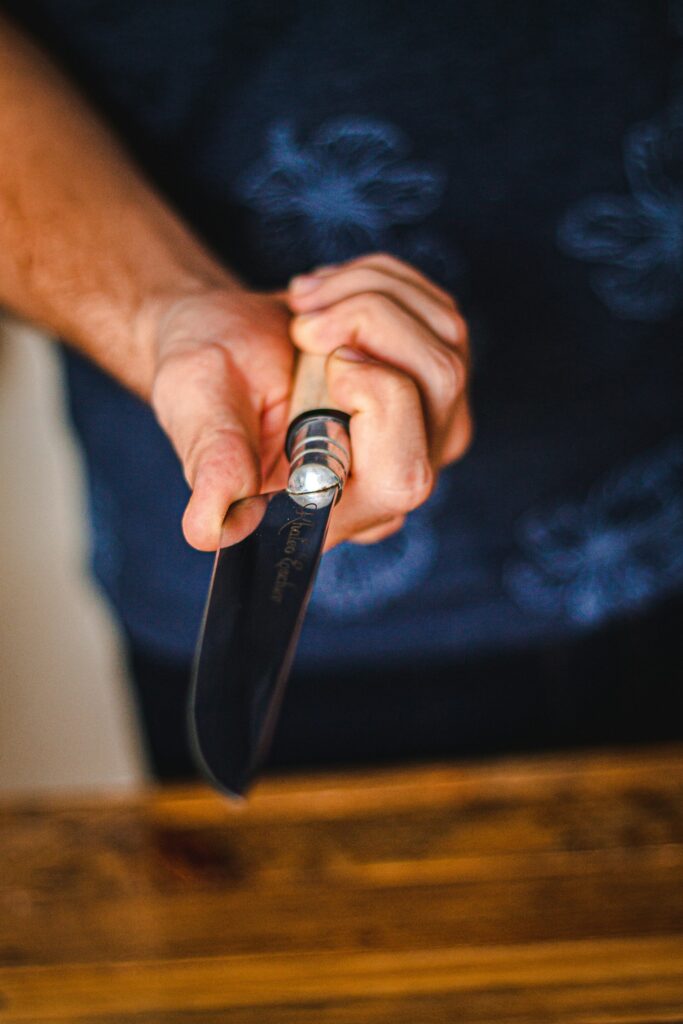
As the stone removes tiny amounts of metal, a fine wire edge—known as a burr—forms on the opposite side of the blade. Running your fingertip very carefully across, never along, the edge allows you to feel when that burr has developed.
Once it’s present from heel to tip, it’s time to sharpen the other side until the burr flips over.
This simple technique is far more reliable than counting strokes because every knife is different. A lightly used chef’s knife may develop a burr quickly, while a neglected blade could take considerably longer.
Learning to recognize that subtle change transforms sharpening Damascus kitchen knives from guesswork into a repeatable skill.
Coarse, Medium, or Fine? Choosing the Right Grit
Not every sharpening session needs to begin with the roughest stone you own.
If your knife still cuts reasonably well but has lost that effortless bite, a medium grit around 1,000 is often all that’s needed to refresh the edge. From there, moving to a finer stone between 3,000 and 6,000 grit refines and polishes the edge, leaving it noticeably sharper.
Coarser stones have their place too. If the knife has small chips or has become genuinely dull after months of heavy use, starting around 300 to 600 grit saves time before progressing to finer stones.
Bringing the Edge Back to Life
By the time you’ve chosen the right stone and established a consistent angle, the hardest part is already behind you. From here, sharpening becomes less about following a rigid set of instructions and more about paying attention to what the knife is telling you.
Start with a clean, stable work surface and make sure your stone won’t slide around. If you’re using a water stone, soak it according to the manufacturer’s recommendations before you begin.
As you draw the blade across the stone, work slowly enough that you can feel the entire edge making contact.
Once you’ve raised a burr along one side, repeat the process on the other until the burr flips back. From there, move to your finer stone and use lighter pressure with each pass. The goal isn’t to remove lots of metal—it’s to refine the edge you’ve already created.
A few gentle finishing strokes on each side are usually enough. Some cooks like to finish by stropping the blade on leather, while others are perfectly happy stopping at a fine whetstone. Both approaches can produce an exceptionally sharp knife.
If Your Knife Feels Dull, It May Not Need Sharpening
One of the easiest mistakes to make is reaching for the whetstone every time a knife starts feeling less responsive.
Often, the edge isn’t actually dull.
As you chop vegetables or slice meat, the extremely thin cutting edge can bend ever so slightly to one side. The knife feels less sharp, but very little metal has actually worn away.
That’s where a honing rod comes in.
Rather than creating a new edge, honing gently straightens the existing one. Think of it as routine maintenance rather than repair. A few careful passes before cooking can restore much of the knife’s performance and delay the need for a full sharpening session.
A Sharp Knife Is Easier to Maintain Than to Restore
Many people wait until their knife can barely slice a tomato before thinking about maintenance. By then, restoring the edge often takes considerably more work.
A much better approach is to treat sharpening as occasional maintenance rather than emergency repair.
If you cook at home a few times a week, you’ll probably only need to sharpen your chef’s knife every few months. Professional cooks who spend hours on the line every day may sharpen far more frequently, but even they rely on good habits between sharpening sessions to extend the life of the edge.
Simple things make a surprising difference.
Wash your knife by hand instead of putting it through the dishwasher. Dry it straight away, especially if it’s made from high-carbon steel. Avoid twisting the blade while cutting through dense foods, and resist using the edge to scrape chopped ingredients off the cutting board. Turning the knife over and using the spine instead takes only a second but saves unnecessary wear.
These habits may seem small on their own, but together they dramatically reduce how often you’ll need to sharpen.
Final Thoughts
The best thing about learning sharpening Damascus kitchen knives is that the knowledge doesn’t stop with one blade. Once you understand how to maintain a consistent angle, recognize a burr, and choose the right grit, those same principles apply to almost every quality chef’s knife you’ll ever own.