There is a reason fermentation has survived for thousands of years. It works. Long before recipes became complicated and kitchen gadgets became essential, people were preserving vegetables with a handful of basic ingredients and a little patience. The same principles still apply today, which is why making a good first pickle is easier than most newcomers realise.
Salt. Water. Vegetables. Time.
Strip away the jargon and that is the process in its simplest form. Everything else is just detail.
What a Pickled Ferment Actually Is (and Why It Works)
Lacto-fermentation is the process behind most traditional pickles. Beneficial bacteria — primarily Lactobacillus — live naturally on the surface of vegetables. When you submerge produce in a saltwater brine, those bacteria get to work. They consume the natural sugars in the vegetables and produce lactic acid. That acid is what preserves the food, creates the characteristic tang, and populates your pickles with beneficial probiotics.
No vinegar. No canning. No specialist equipment. The salt does the selective work — keeping harmful bacteria out while giving the good ones space to thrive.
Choosing What to Pickle First
Almost any vegetable that is safe to eat raw can be lacto-fermented. Cucumbers are the classic starting point — they ferment quickly and reliably. Carrots, green beans, cauliflower, radishes, and turnips are all excellent choices that hold their texture well in brine.
Dense root vegetables like beets, celeriac, and rutabaga ferment more slowly than softer produce. They benefit from being sliced thin or grated rather than cut into chunks — more surface area means faster fermentation and better flavour penetration. A mandoline is genuinely useful here if you have one.
Fresh, firm and organically grown vegetables produce the best pickles.
The Brine: Salt and Water, Done Right
The brine ratio is the one number worth paying attention to. A 2–3.5% salt concentration is the standard range for most vegetables. Too little salt and unwanted bacteria can get a foothold; too much and the fermentation stalls.
The simplest starting point: two tablespoons of salt per quart (32 fl oz) of water. This gets you to around 3–3.6%, which is a reliable range for chunky vegetable pickles.
A few things worth knowing about salt and water:
Use non-iodized salt. Iodine is added to table salt specifically because it inhibits microbial activity — which is the opposite of what fermentation needs. Sea salt, kosher salt, or pickling salt all work well. Himalayan salt with naturally occurring trace minerals is also fine in practice.
Tap water is usually fine. Chlorine in municipal water can theoretically inhibit fermentation, but in practice, experienced fermenters regularly use it without issue. If your tap water smells strongly of chlorine, let it sit uncovered in a jug overnight — chlorine dissipates easily.
When topping up brine midway through the ferment, use plain water. Salt does not evaporate, only water does. If you top up with fresh brine, you increase the salinity unnecessarily.
The Vessel: What You Put It In Matters Less Than You Think
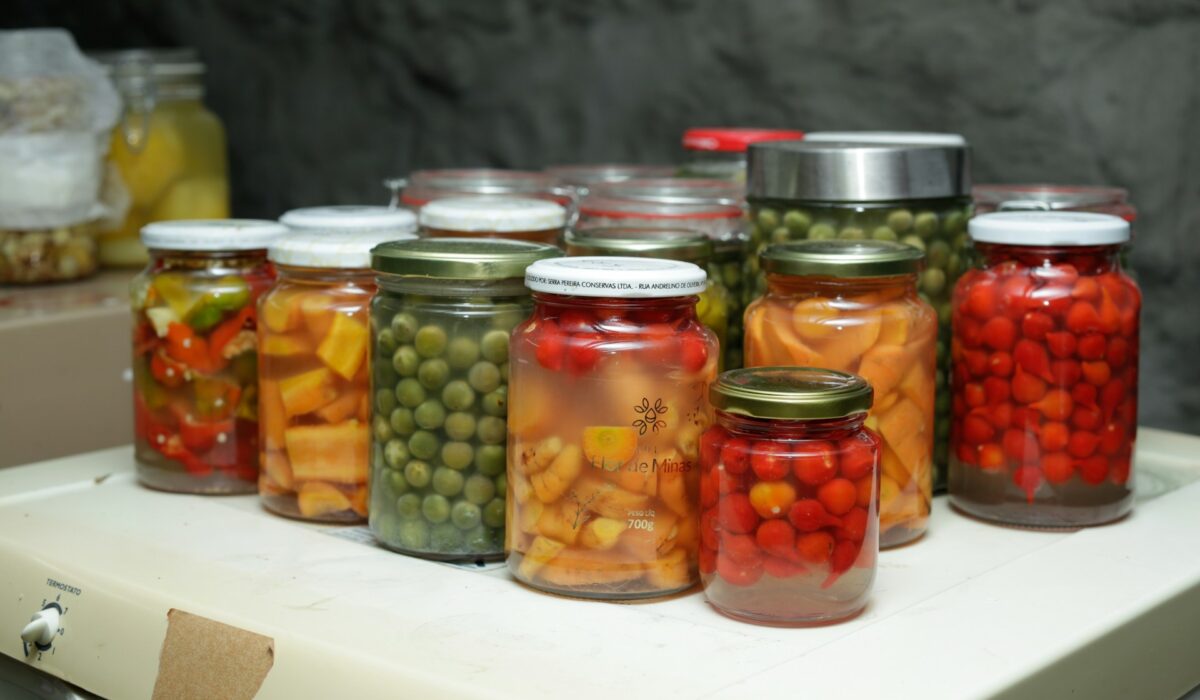
A mason jar with cheesecloth tied over the top was a perfectly functional first ferment vessel for generations of people. The internet will try to convince you that you need an airlock, a water-seal crock, or specialist fermentation lids. These are helpful — not essential.
What does matter: keeping your vegetables fully submerged under the brine. This is the one non-negotiable. Any produce floating above the brine is exposed to oxygen, which is where mold finds its foothold.
Some practical ways to keep vegetables submerged without any special equipment include
- A large outer cabbage or grape leaf pressed over the top of the vegetables acts as a natural barrier.
- A clean river stone or a small jar filled with water wedged into the mouth of a larger jar both work reliably. A zip-lock bag filled with brine placed on top works particularly well in wide-mouth jars — it conforms to the shape and keeps everything down without introducing any dry surface.
Some more experienced fermenters recommend simply stirring the jar twice a day if you are not weighting it down — the regular agitation keeps mold from taking hold before the acid environment does.
Temperature and Timing
Room temperature works for most pickles. The range between 65°F and 75°F (18°C–24°C) is ideal. Cooler temperatures slow fermentation but do not stop it — traditional fermenters in cold climates have always worked with seasonal temperatures, not carefully controlled ones. Warmer temperatures speed things up but can result in softer texture if the vegetables are left too long.
Timing varies significantly depending on what you are fermenting and how thick your pieces are. Quick ferments like thinly sliced cucumbers or shredded cabbage can be ready in three to five days. Dense root vegetables in larger pieces may need three to five weeks before the flavour has fully developed all the way through.
If possible, taste your ferment every few days. The brine will develop tang and complexity before the vegetables do. That is normal. The brine getting pleasantly sour is a sign the fermentation is working — the vegetables simply need more time to absorb it.
The Spices and Flavours Worth Adding
Brine is the foundation. Spices and aromatics are where things get interesting.
Garlic, dill, peppercorns, bay leaves, fennel and mustard seeds are the workhorses of traditional pickle spicing. Caraway pairs particularly well with root vegetables. Chili flakes or dried hot pepper add heat that mellows considerably during fermentation.
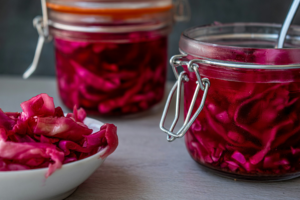
Lebanese-style torshi — a beet and turnip pickle coloured deep magenta with garlic and chili — is one of the most approachable templates for a first flavoured pickle. The technique is identical to any brine pickle; the beet provides colour and sweetness while the turnip absorbs it over two to three weeks.
Julienned carrots with garlic and dill are another reliable first ferment. Sliced thin, they are ready within a week and versatile enough to eat as a snack, add to wraps, or toss into stews where their sourness becomes barely noticeable.
Reading the Signs: What Is Normal, What to Watch For
When fermentation is active and healthy, you will see some or all of the following:
- Cloudiness in the brine is completely normal. It is caused by lactic acid bacteria multiplying and is a positive sign, not a problem.
- Bubbles forming around or between vegetables indicate CO2 being produced. Visible bubbling varies widely — sometimes it is dramatic, sometimes you see almost nothing. Both are fine.
- A slight froth on the surface in the first few days is common and harmless. Spoon it off if it bothers you.
- Kahm yeast, a flat white film that sometimes forms on the surface, looks alarming but does not pose a risk. It is a harmless yeast that tends to appear when fermentation slows. Skim it off cleanly and continue.
- Fuzzy mold with brightly-colored tones (white, black, green, or pink) usually signals that the ferment is contaminated. This is different from the flat white film of kahm yeast. If you see fuzzy growth, the safest approach is to throw everything out and start again.
- The brine level dropping below the vegetables is common over time, as water evaporates. Top up with plain water, not fresh brine, to bring the level back above the produce.
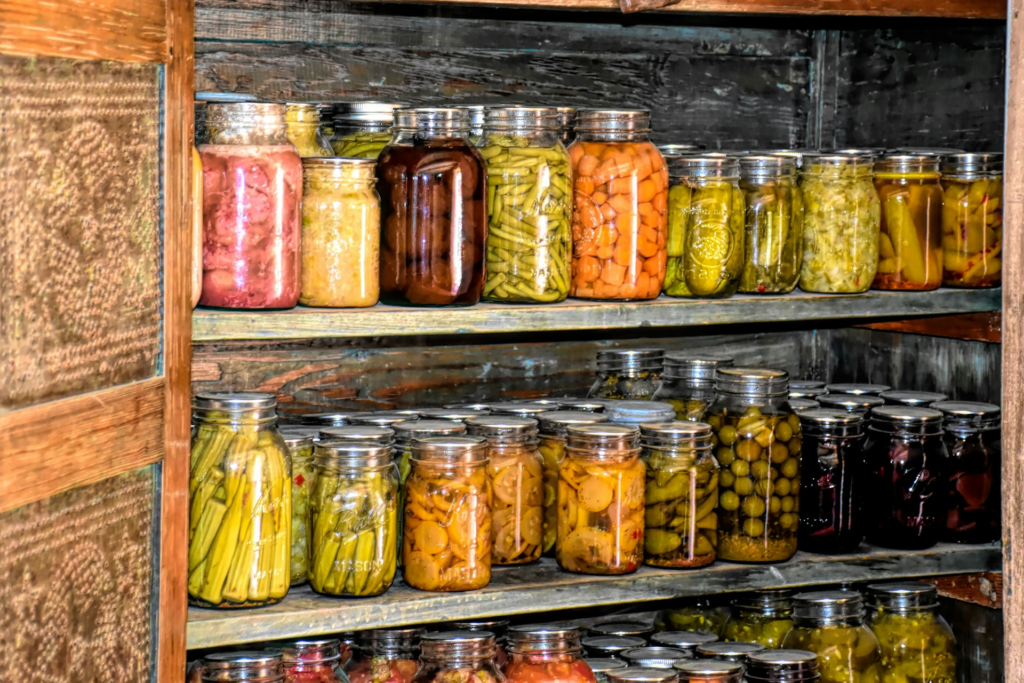
Making a Good First Pickle: Putting It All Together
Pack your chosen vegetables into a clean jar. Make your brine — two tablespoons of non-iodized salt per quart of water. Pour over the vegetables, leaving an inch or two of headspace. Weigh everything down below the brine using whatever you have — a cabbage leaf, a small jar, a brine-filled bag.
Cover loosely to allow CO2 to escape. Leave at room temperature and taste every few days until the flavour is where you want it. Move to the fridge or a cool cellar to slow fermentation and extend shelf life.
The fermented vegetables can be eaten straight, added to wraps and grain bowls, stirred into stews, or used as a condiment alongside proteins. Even pickles that taste too sour to eat neat often work beautifully in cooked dishes — the acidity mellows with heat.
Final Thoughts
Making a good first pickle does not require perfect technique, specialized equipment, or a carefully controlled environment. It requires salt, water, vegetables, and enough patience to let the microbes do what they have been doing since long before anyone wrote a guide about it.