Long before commercial tenderizers filled grocery store shelves, traditional communities around the world harnessed the power of plant ashes to transform tough, fibrous ingredients into tender, flavorful meals. This traditional method of tenderizing food, passed down through generations, represents a perfect example of self-sufficiency—where simple agricultural waste is converted into a remarkable cooking aid through a process that seems almost alchemical.
The technique transforms dried bean stalks, maize cobs, and banana peels into a potassium-rich solution that not only softens tough vegetables and meats but also enhances flavor and preserves their vibrant green color.
The Science Behind the Process
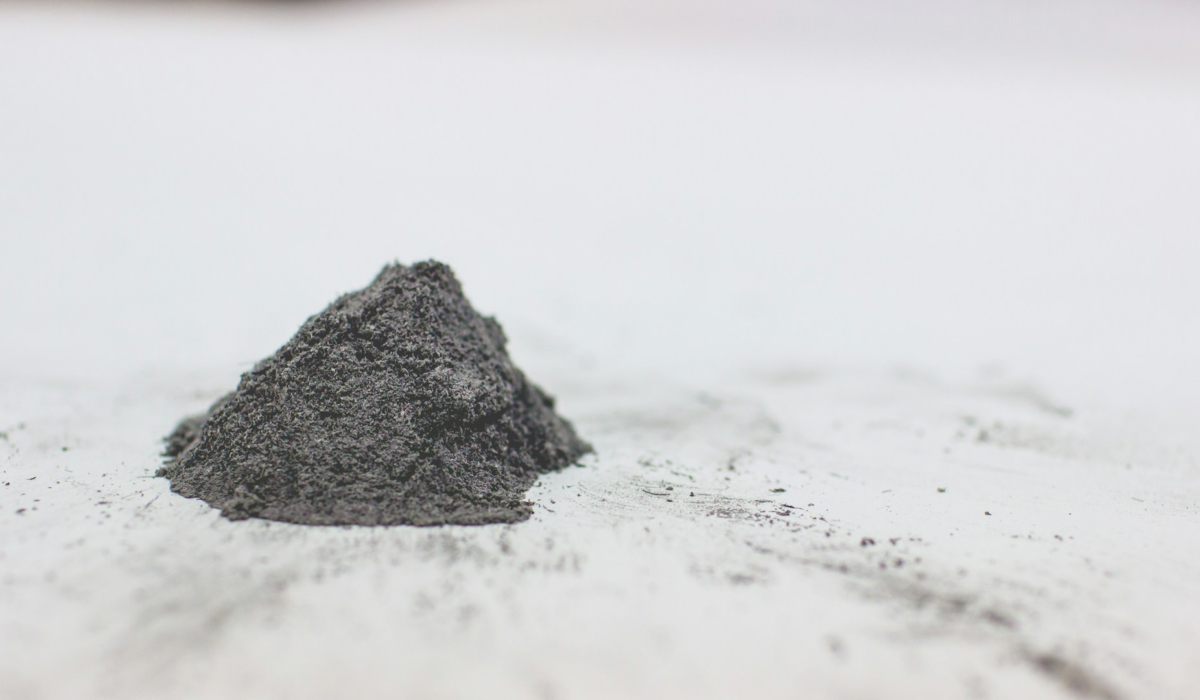
When plant materials like bean stalks, maize cobs, and raw banana peels are burned to ash and mixed with water, the resulting liquid is an alkaline solution rich in potassium salts. This natural lye has multiple applications in the kitchen:
- Tenderizing tough fibers: The alkaline solution breaks down hemicellulose, a structural component in plant cell walls, making fibrous vegetables like chaya, pumpkin leaves and cowpea leaves soft and palatable within minutes.
- Preserving color: Unlike overcooking, which turns greens dull and unappealing, this approach helps maintain a vibrant green color—a sign of both quality and nutrient retention.
- Flavor enhancement: Beyond tenderizing, the solution reduces sourness in preserved fish, balances flavors in meat dishes, and adds subtle depth to the overall taste profile.
The chemistry is surprisingly gentle. The alkaline solution weakens the pectin that holds plant cells together without breaking down the cell walls entirely, resulting in a softer texture while maintaining structural integrity.
For meats, it works by slightly denaturing surface proteins, allowing seasonings to penetrate more effectively while keeping the interior moist and succulent.
A Technique Found Across Cultures
Interestingly, using plant ash for cooking is not unique to one region of the world. This technique appears across continents, demonstrating how human ingenuity arrived at comparable solutions independently:
- In parts of Asia, the ash of Amaranthus spinosus plants has been used to tenderize tough vegetables like cowpea leaves and pigeon peas.
- Traditional European cooks used wood ash lye for various culinary purposes, including softening grains for porridges.
- In parts of Africa, particularly Kenya, the Luhya are famed for making a natural tenderizer locally called Musherekha, which can be used across multiple dishes
- Indigenous communities in the Americas used ash from specific trees to process corn (nixtamalization), dramatically increasing its nutritional value—a technique still used today for making masa for tortillas.
What makes this method particularly elegant is its resourcefulness; it creates something valuable from plant waste that would otherwise be discarded. This traditional method of tenderizing food exemplifies zero-waste cooking long before the concept became fashionable in modern culinary circles.
Making Your Own Natural Tenderizer
Creating this tenderizer at home is remarkably straightforward. It requires only three things: dried plant material, clean water and a container with small holes for straining.
What You’ll Need
- Plant material: Dried bean stalks work beautifully, but dry maize cobs, raw banana peels, or groundnut shells are effective substitutes. A mix of these plant materials also produces good results
- Clean water: Room temperature
- A perforated container: A clean can with small holes punched at the bottom, or a plastic container with small holes made using a tiny drill bit
- A collection vessel: A wide plate or bowl that fits under your perforated container
- Storage bottle: For storing your finished tenderizer (clearly labeled)
The Process
- Burn to ash: Gather your dried plant material and burn it completely in a safe outdoor location. Allow the ash to cool fully and store it dry until needed. Do not let water contact the ash before you’re ready to process it.
- Prepare your filter: Place the ash in your perforated container, pressing it down firmly to about ¾ full. Position the container over your collection plate or bowl.
- First percolation: Slowly pour clean water over the ash, allowing it to soak in. Continue adding water until liquid begins to collect at the bottom. This first liquid will carry some ash particles, so pour it back over the ash rather than saving it.
- Second percolation: Pour the liquid over the ash again. This time, the liquid that collects should be nearly clear—a pale off-white or slightly golden color. This is your finished tenderizer.
- Storage: Transfer the liquid to a clean bottle. Properly stored, this solution can last up to a year. Always label the bottle clearly and keep it out of reach of children.
Understanding Quantities
The key to success is learning proper quantities. The liquid is potent, and using too much can make food unpleasantly alkaline. As a starting point:
- For a typical batch of vegetables (about 2 bundles), use ⅓ cup of the tenderizer
- For meat, adjust based on quantity—about ¼ cup per kilogram of beef
- For chicken, start with ⅓ to ½ cup, depending on size
The Cultural Context
This technique holds deep cultural significance for most communities that still practice it. The knowledge has been passed down through generations—from grandmother to mother to daughter—preserving not just a technique but a connection to ancestral wisdom.
The resulting tenderizer, known by various names including Musherekha or Mukereka, is a valued household staple that neighbors and relatives often share.
Interestingly, as modern cooking aids like sodium bicarbonate have become more available, this traditional method of tenderizing food is becoming less common even in its homeland, preserved mainly in rural areas. The shift represents a loss not just of technique but of cultural knowledge and flavor—those who remember the original taste note that commercial alternatives impart a different texture and flavor.
Traditional Method of Tenderizing Food: Modern Relevance
For today’s cooks interested in traditional approaches, this technique offers several compelling benefits:
- Zero-waste cooking: It transforms agricultural byproducts into a valuable kitchen resource
- Ingredient transparency: You know exactly what goes into your tenderizer
- Cultural connection: It offers a tangible link to traditional cooking methods
- Anti-inflammatory: The resulting solution is alkaline in nature, helping keep your body in good overall health
Practical Applications
This approach shines with specific ingredients:
Fibrous greens like cowpea leaves, chaya and pumpkin leaves become tender within minutes rather than requiring prolonged boiling that destroys nutrients.
Free-range chicken, beef or goat meat: Works particularly well with older animals with tough meat that would otherwise require hours of cooking.
Preserved fish: For dried or salted fish, this traditional method of tenderizing food helps reduce any off taste while improving texture.
Conclusion
This technique, using nothing more than plant ash and water, exemplifies human ingenuity, transforming simple materials into culinary magic. This traditional method of tenderizing food proves that sometimes the most powerful solutions come from the simplest source.
By understanding and preserving these traditional techniques, we honor the wisdom of those who came before while gaining access to sustainable, effective cooking methods that remain relevant in our modern kitchens.